The Nordkap 476 – {part 19}
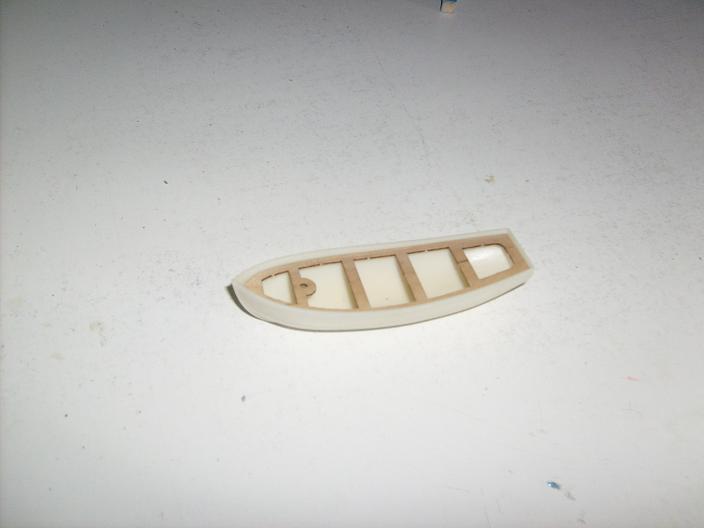
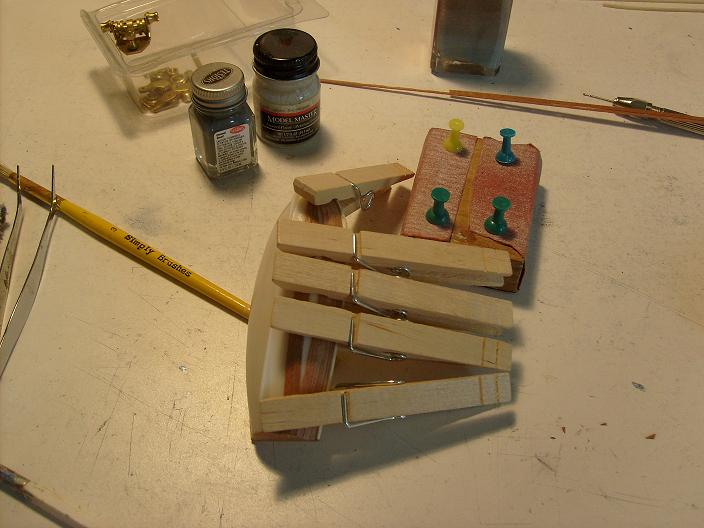
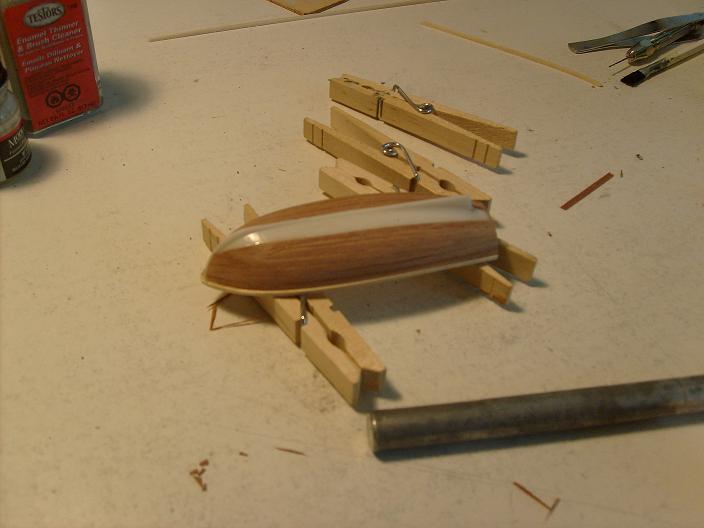
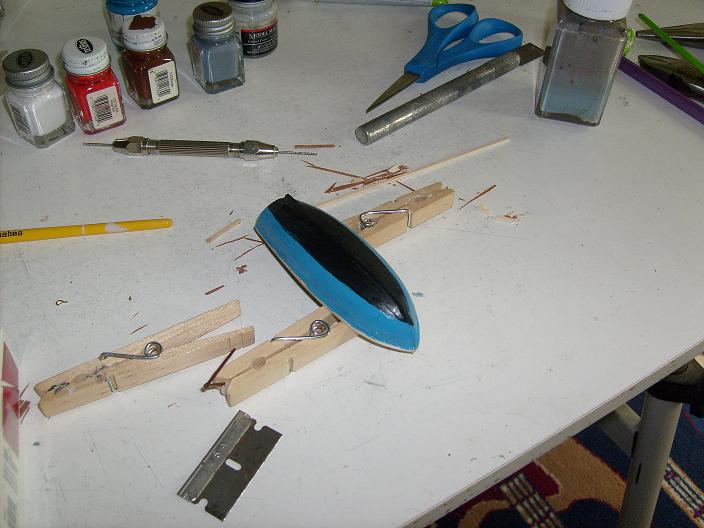
I finally got to take a hard look at the life boat. the parts here are the boat itself, the deck/seat plate, and the tiller. the surface of the boat is smooth…..no detail, except for the keel board. I was talking to Tom @ Billing Boats on the phone one day……just chit chat, and the subject of life boats came up. he told me his way of embellishing on them, a way that I had never thought of trying….using stick-on veneer sheeting. I mentioned another way that I thought I would try….planking the hull, and he thought that would be very cool! so, that’s what I’m going to do. I have never done anything this small before, let along planking until I got into wood kits….so, now I’m thinking…..what have I gotten myself into!
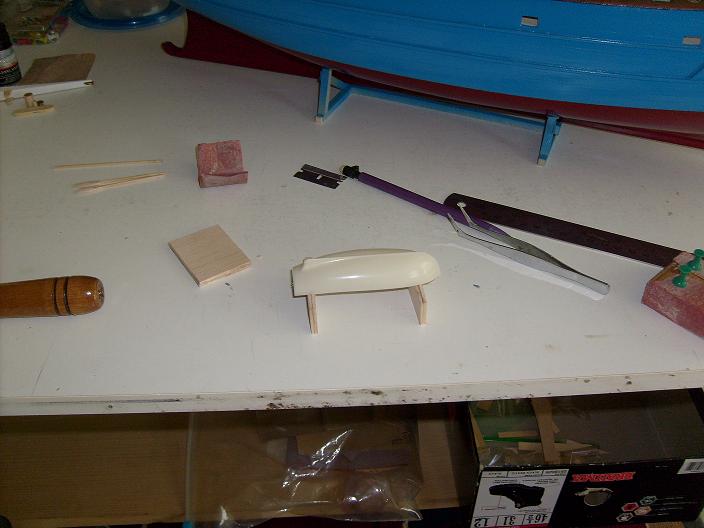
My first attempt at making the stanchions for the deck, didn’t go as I had planned……I will have to try….try…..try again until I get a usable pair. I began the planking with cementing rub rails around the upper edge of the dingy. it stops at the stern, not to get in the way of the tiller, and meets the keel board at the bow.
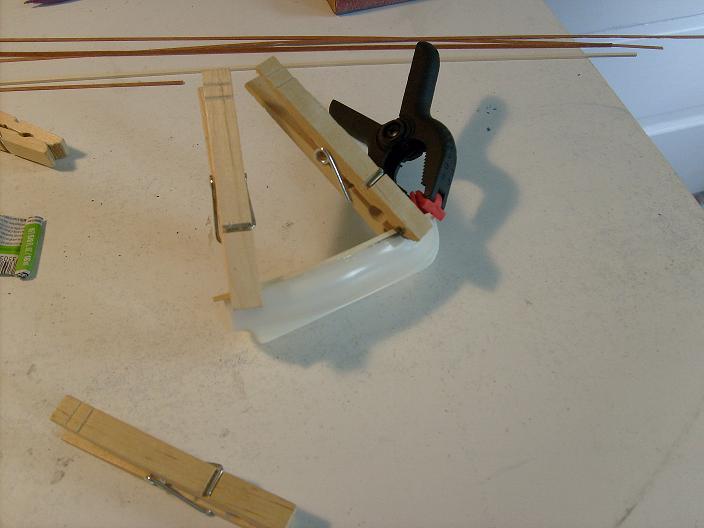
The stern was planked first keeping it flush with the outer edges of the stern wall. planking was then started, laying four whole planks along the rub rail. the next plank after that was laid two planks lower from there and then filled in.
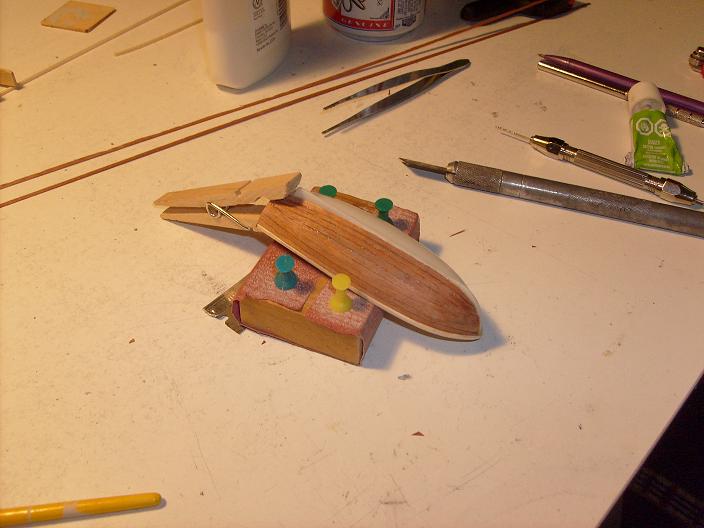

With one side finished, I started on the other side. it was done in the same manner, four whole planks, the fifth being the fill board. when I cemented in the fill boards, the ends that I had to shape into a point, stuck up, just shy of a perfect fit. I used my thumbnail to rub them and press them into place.
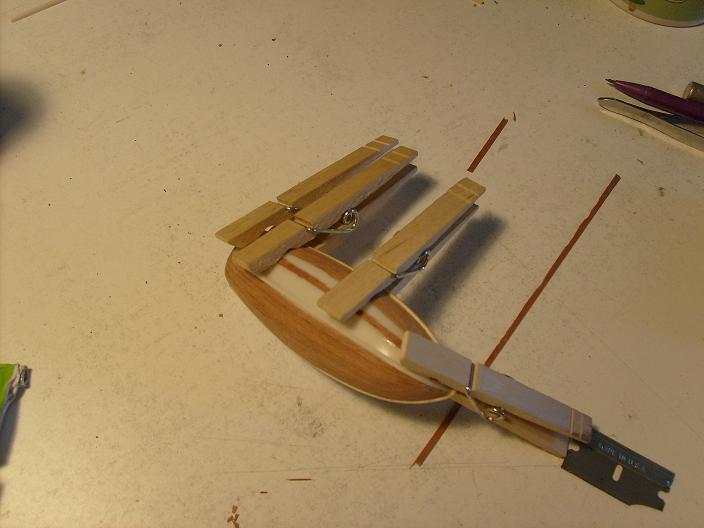
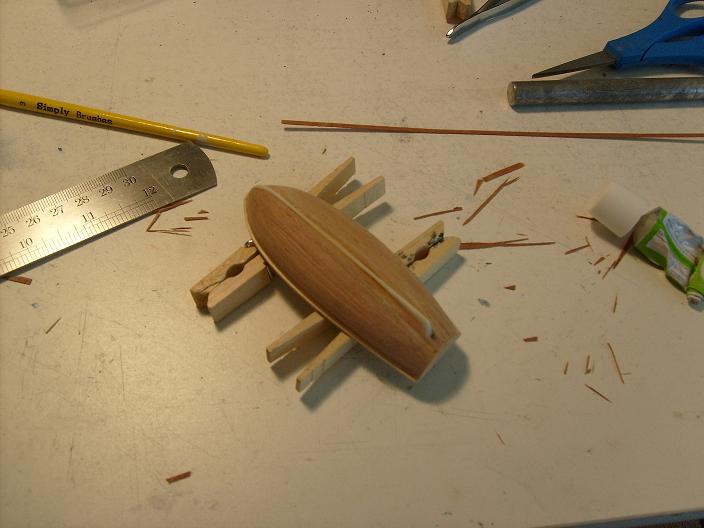
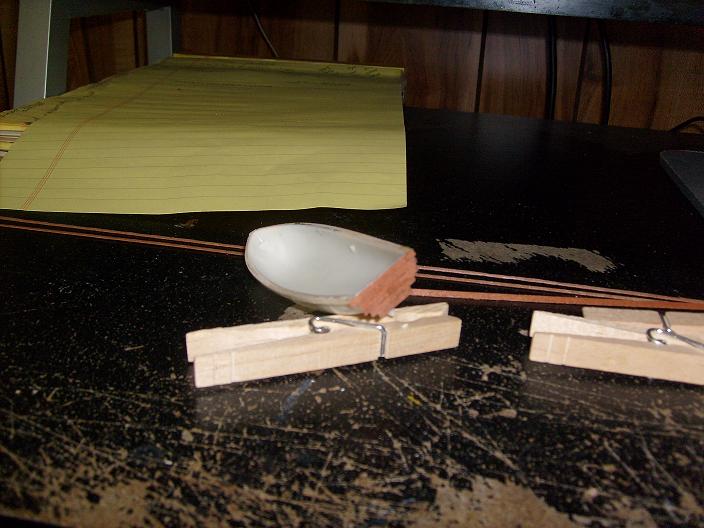
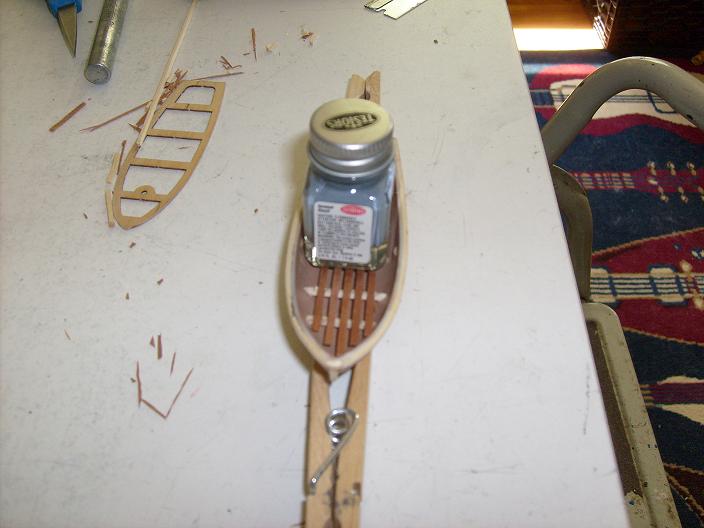
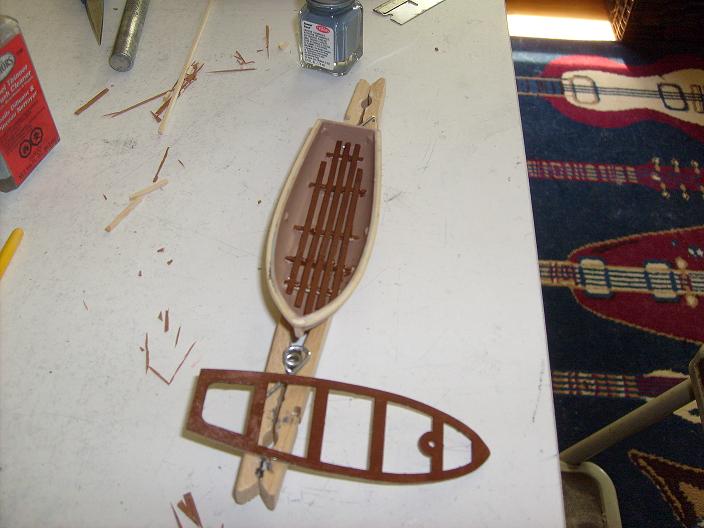
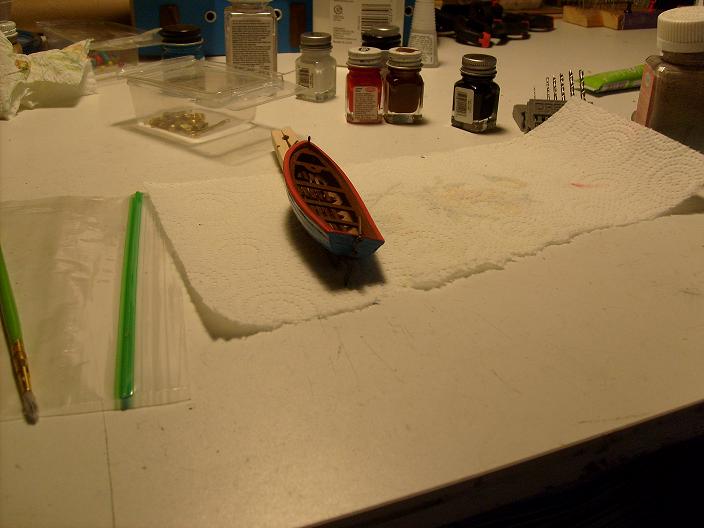
soon, the entire hull was planked. as I thought, the keel was somewhat hidden by all this. I decided to add a piece of 1/16th strip stock to the keel to build it up. with this thin mahogany, I could not seal in between the planks, so tiny crack line were present. I had also done some light sanding while the cement was still a bit wet, so that the sawdust wold stick to the cement in the cracks and fill in. this worked to a degree…….I still had to use filler with a needle extruder to fill in some of the more prominent ones. after the sanding was done, I began work on the interior of the dingy, cementing cross frames along the bottom.
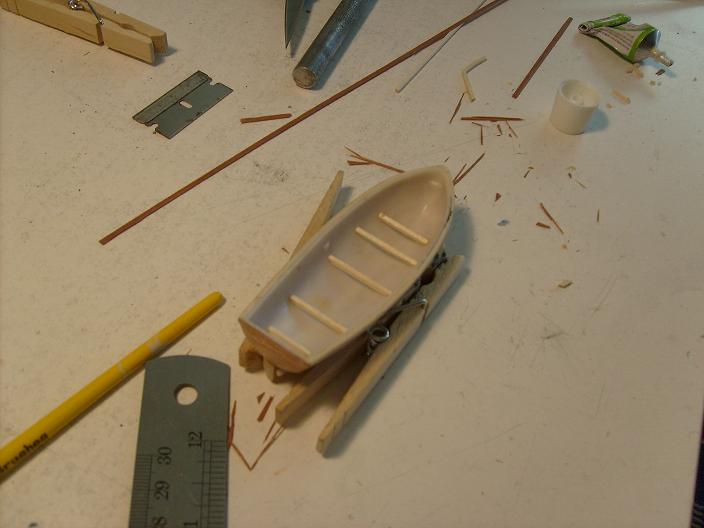
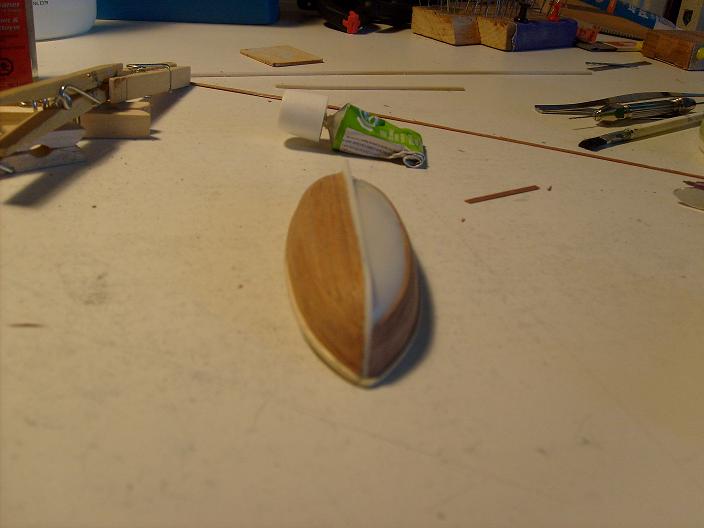
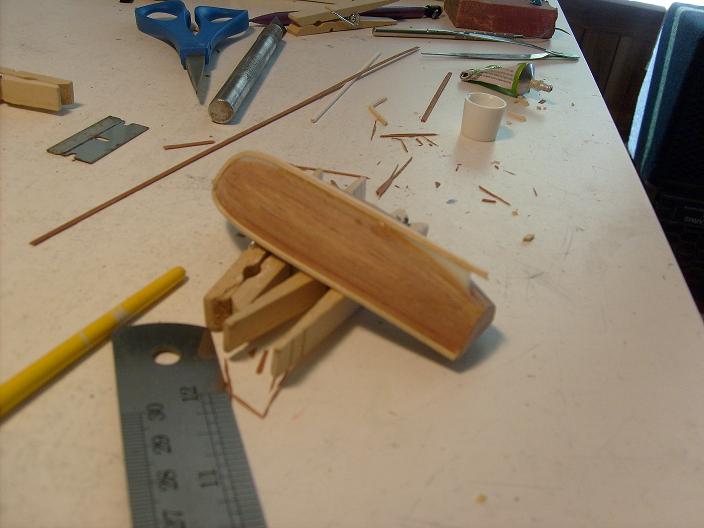
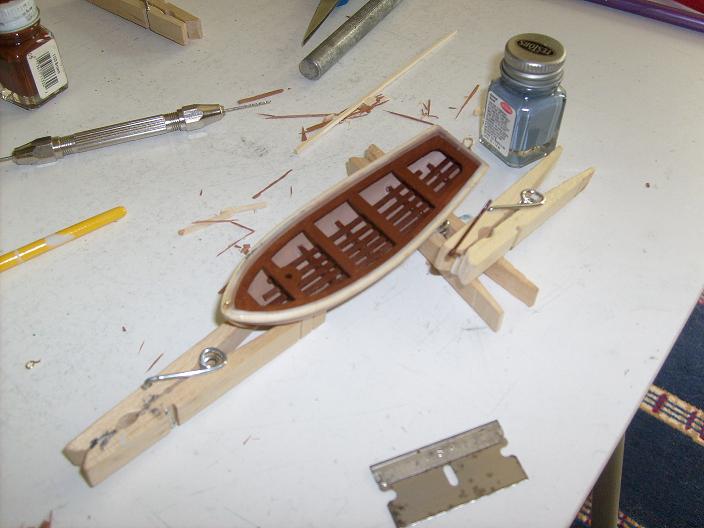
then the floor boards were added and the inside was painted. later, the floor boards and the deck/seat was painted.
When this was finished, it was then put together, to become one with the assembly as a whole. I also painted the top portion of the tiller…..the paddle is to be painted the color of the hull’s bottom.
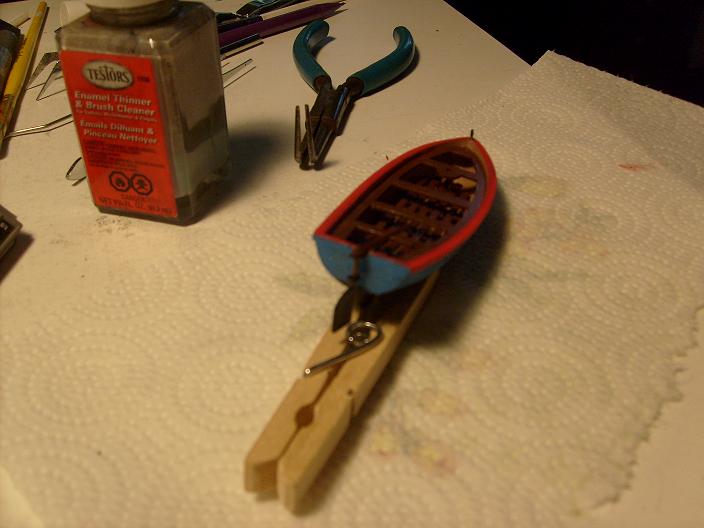
Painting the exterior of the hull was a toss-up……..I wanted to paint the sides of the hull the color of the Nordkap, but the bottom color was the puzzle. I could go with the Boyd red…..but, I decided just to do a flat black…..a generic color for most of the smaller ships that I have seen. the rub rails will be painted a red color.
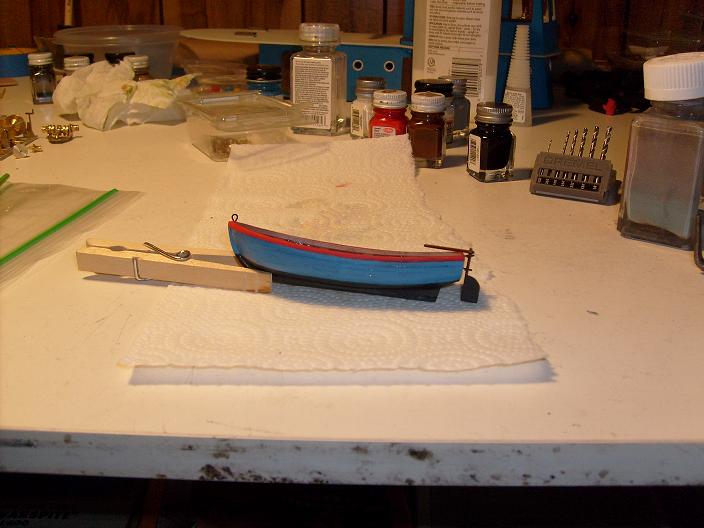
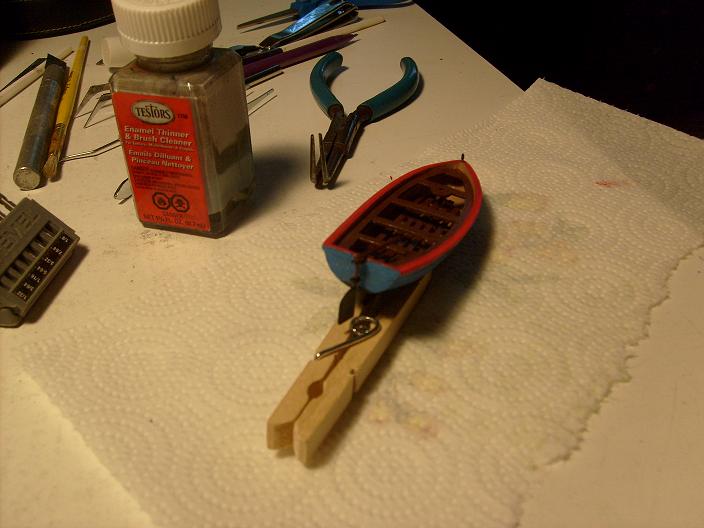
I had prepared a few more of the eye bolts, cementing one on the bow and two for the tiller. the paddle was painted flat black. the eye bolts were also painted flat black. the eye bolts for the tiller were left open, so that it could be slid into place and then closed, trapping it in place. for the stern, so not to interfere with the tiller, two eye bolts will cemented at two points on the stern. seeing that there is a mast hole on the decking, I made and painted a small mast for it. I will then add a folded up sail and coiled rope in the boat to compliment the detail. I think it came out rather well, never having done one like this before. the planking adds the detail of wood….the only thing that I would change, if I could, would be to have thinned down the paint into a “stain”, so more of the wood texture could be seen. there are still a few small crack lines to be seen…….I may not try to fix them, for fear of taking away any more wood detail from the dingy. I think it will be just fine……..coupled with the crane, they will add significantly to the looks of the Nordkap.
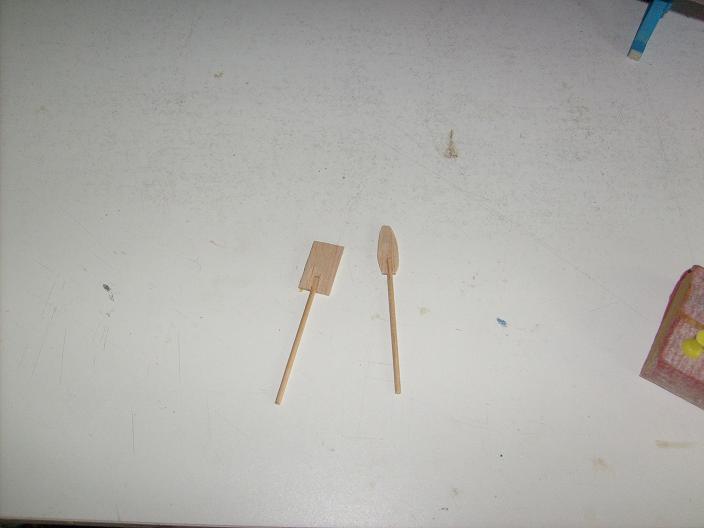
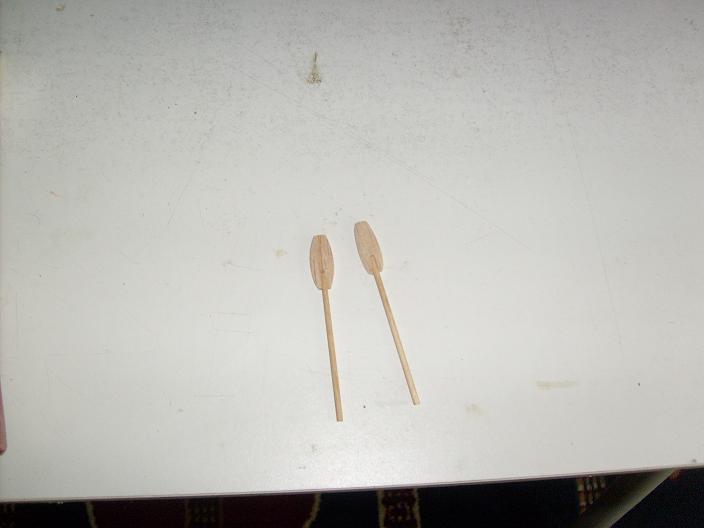
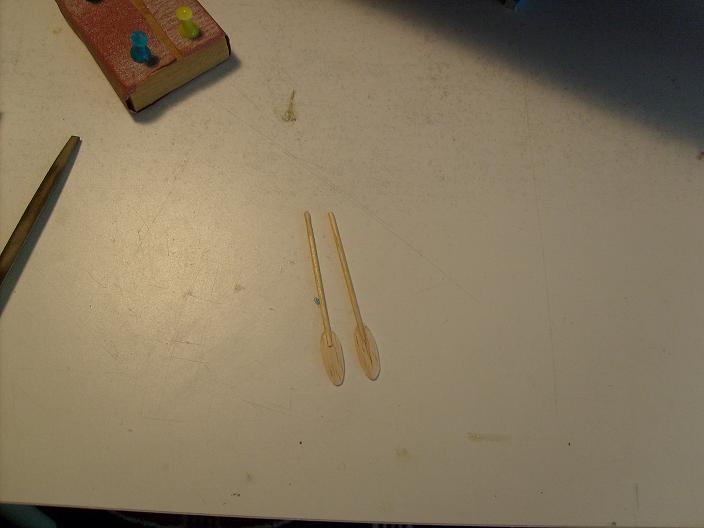
for a bit of a laugh, I tried my hand of making some oars for the dingy……too bad they are a bit out of scale, or they would have been another feather in my cap.

……..to experiment…..is to learn…….and to try……..will tell you whether you can exceed or fail………but, not to try at all……robs you of knowing that you can do it. you just have to try. AHOY!!!
